| elements_of_art.pptx |
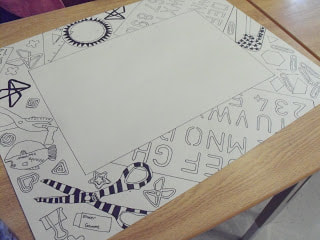
Step 1: I give each student a large piece of white cartridge paper, and have them draw a 10 cm by 10 cm border around the outside.
Step 2: Students then trace a variety of school supplies in pencil all around the border.
Step 3: Students outline all the objects traced using a fine line marker.
Step 4: Students add patterns and lines using a combination ofBLACK fine line and Crayola thick markers.
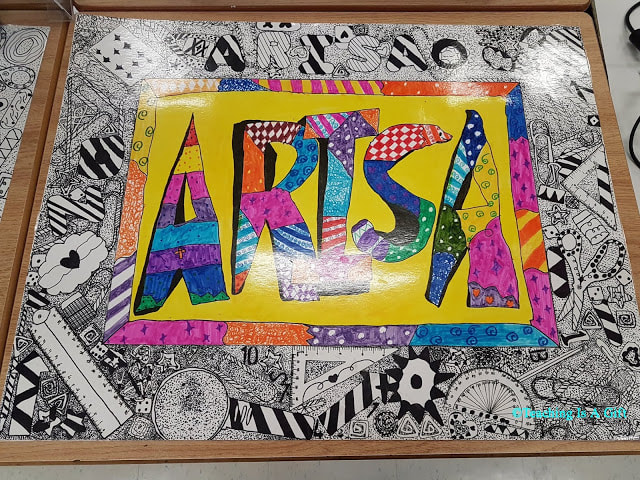
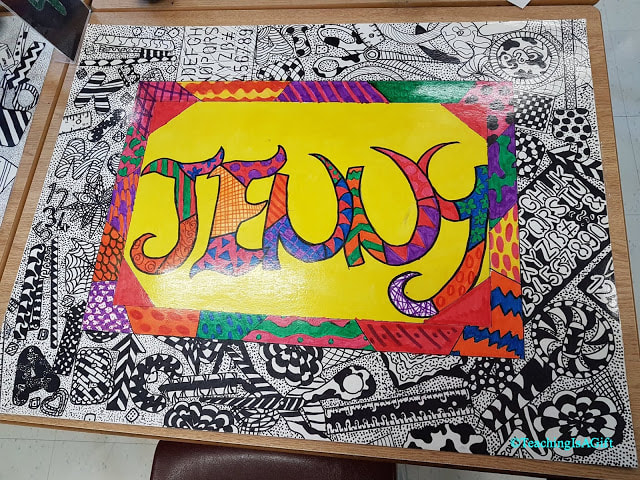
Step 5: Once the students have finished the black and white border they are allowed to do anything in the "middle" section of the desk mat. The only thing they MUST include is their name. I encourage them to use LOTS of colour and a variety of media. Some students bring in pictures from home, some draw their favourite objects, some print images from the computer. They often use a combination of pencil crayon and marker for this part of the project.
Step 6: After students have finished the inside design and the outside patterns, they go back to the border section. Here they use a fine line marker to fill all the "white" space in the background with dots. This can be tedious for some students but the finished effect is worth it. Some days it sounds like there are woodpeckers in the classroom as several students are making their dots at the same time.
Step 7: I laminate all the desk mats. I know this is not considered very environmentally friendly. The students are also very PROUD of their work, and most keep the mats for years and years to come.

 RSS Feed